Unpacking after a big move can feel like a daunting puzzle, with boxes scattered around and belongings hidden beneath layers of tape and cardboard. But what if the simple act of labeling your boxes could transform this chaos into a smooth, almost effortless process? Knowing how to label boxes like a pro is more than just writing down a few words — it’s a strategic approach that saves time, reduces stress, and sets the stage for a seamless transition into your new space. In this article, we’ll explore practical tips and clever techniques to master the art of labeling, turning your unpacking experience from overwhelming to organized with ease.
Table of Contents
- Preparing Your Labeling Supplies for Maximum Efficiency
- Choosing Clear and Consistent Labeling Methods
- Categorizing Contents with Detailed Descriptions
- Using Color Coding to Simplify Room Assignments
- Incorporating Specialized Labels for Fragile or Important Items
- Maintaining an Organized Labeling System for Stress-Free Unpacking
- Q&A
- The Way Forward
Preparing Your Labeling Supplies for Maximum Efficiency
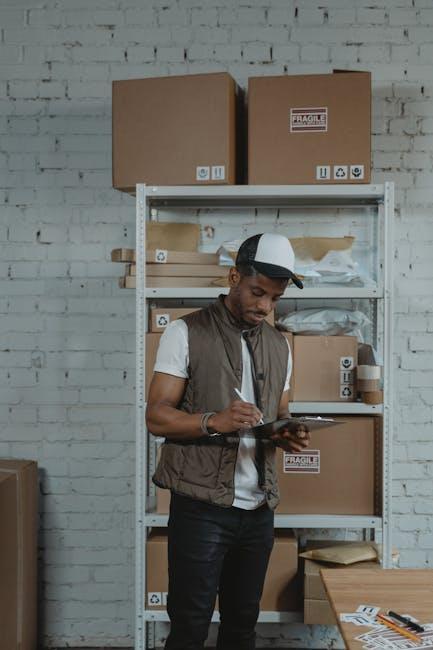
Start by gathering all the essentials in one dedicated spot to streamline your labeling process. This includes durable markers, color-coded labels, packing tape, and a label printer if you prefer a crisp, professional look. Having these tools at arm’s reach will prevent unnecessary interruptions and keep your momentum going. Consider setting up a small labeling station near your packing area, ensuring you can quickly jot down box contents or special handling instructions without scrambling for supplies.
Organizing your labeling materials effectively can save time and reduce errors. Use a simple system such as:
- Color-coded labels to categorize rooms or priority levels.
- Pre-printed sheets for common items, so you only need to stick and go.
- Clear protective sleeves for labels exposed to wear or moisture.
| Supply | Purpose | Efficiency Tip |
|---|---|---|
| Permanent Marker | Writing on tape/labels | Use bold colors for visibility |
| Color-coded Labels | Room/item categorization | Stick by packing location |
| Label Printer | Professional label quality | Print in batches before packing |
Choosing Clear and Consistent Labeling Methods
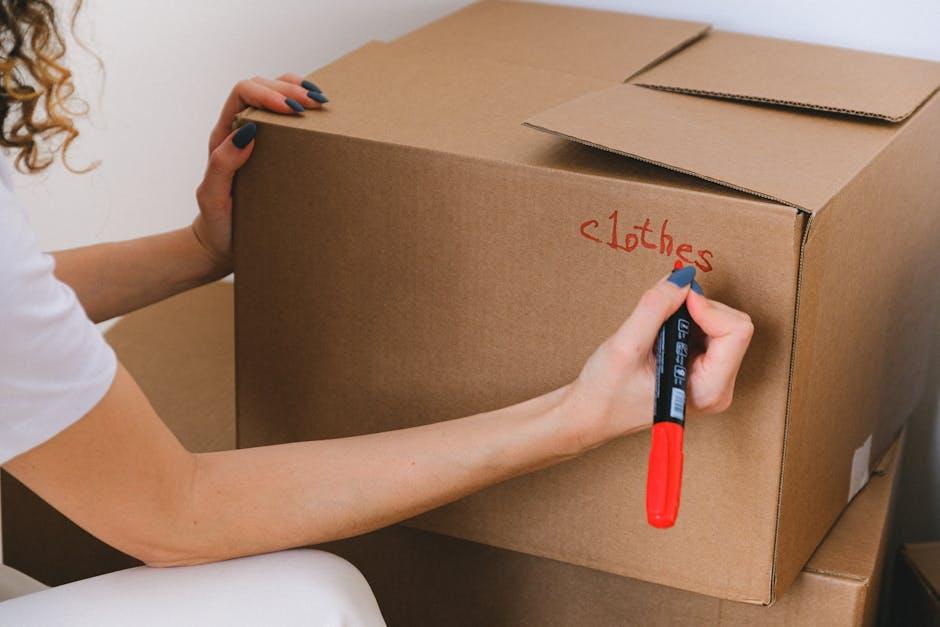
When labeling your moving boxes, clarity is key. Use large, bold fonts or permanent markers that won’t smudge or fade over time. Avoid vague terms like “stuff” or “miscellaneous,” and instead, be specific—for example, “Kitchen: Glassware” or “Bedroom: Winter Clothes.” Consider incorporating color-coded labels or stickers to create a visual guide that simplifies recognizing categories at a glance. This method not only speeds up unpacking but also ensures you’re not scrambling to find important items amidst generic labeling.
Consistency in your labeling approach can be a game-changer. Whether you decide to write on the top, sides, or both, keep it uniform across all boxes to avoid confusion. A simple system might include labels broken down into three parts:
| Category | Room | Priority Level |
|---|---|---|
| Kitchen | Pantry | High |
| Living Room | Shelves | Medium |
| Bedroom | Closet | Low |
By maintaining this structure, anyone helping you move will immediately understand where each box belongs and its unpacking urgency, allowing the entire process to flow more smoothly.
Categorizing Contents with Detailed Descriptions
When labeling your boxes, specificity is the key to a smooth moving day. Instead of writing generic tags like “Kitchen” or “Bedroom”, dive deeper and provide detailed descriptions that highlight the contents and their intended locations. For example, a box can be labeled as “Kitchen – Coffee Maker & Mugs” or “Master Bedroom – Winter Clothes”. This approach not only accelerates unpacking but also helps movers place boxes in the correct rooms without extra confusion. Pair these detailed notes with color-coded labels or markers to add an extra layer of clarity.
To streamline the process, consider using a simple checklist table on each box or a packing sheet that accompanies groups of boxes. This can outline the key items inside along with any special handling instructions. Here’s a quick example:
| Box Label | Contents | Room | Special Notes |
|---|---|---|---|
| Living Room – Fragile | Picture Frames, Glassware | Living Room | Handle with Care |
| Office – Electronics | Laptop, Cables, Headphones | Home Office | Keep Upright |
| Kids’ Room – Books | Storybooks & Toys | Children’s Bedroom | Light Weight |
- Use concise yet descriptive labels: This makes identification quick and reduces sorting time.
- Incorporate visual cues: Stickers or symbols can indicate fragility or priority.
- Update labels if contents shift: Boxes often get repacked—keep your tags accurate to avoid frustration.

Using Color Coding to Simplify Room Assignments
Color coding is a game-changer when it comes to organizing your move. Assigning a specific color to each room not only boosts visual clarity but also speeds up the unpacking process. By using colored markers, labels, or stickers, you ensure that every box instantly “belongs” to a particular space without the need for reading long descriptions. This method works especially well in large homes or when multiple movers are involved, eliminating confusion and mix-ups.
Consider creating a simple chart to keep track of your color assignments. This visual guide can be a lifesaver during the hectic moments of moving day:
| Color | Room | Example Items |
|---|---|---|
| Red | Kitchen | Utensils, pots, pans |
| Blue | Living Room | Books, decor, electronics |
| Green | Bedroom | Clothes, bedding |
| Yellow | Bathroom | Towels, toiletries |
- Tip: Match colored labels with colored tape on boxes to increase visibility.
- Pro Move: Keep a master list of colors and room contents on your phone for quick reference.
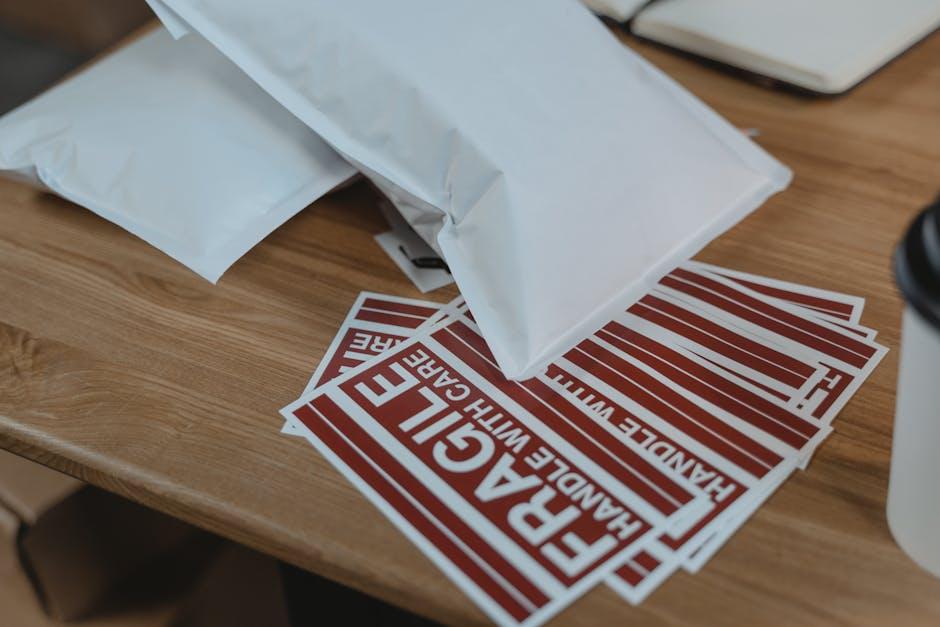
Incorporating Specialized Labels for Fragile or Important Items
When dealing with breakables or prized possessions, clarity is key. Specialized labels serve as vivid signals that demand extra care, elevating your unpacking experience from chaotic to controlled. Using brightly colored or patterned labels instantly draws attention, minimizing the chance of mishandling. Consider labels such as “Fragile – Handle with Care” or “Important – Do Not Stack” to physically and visually separate delicate items from everyday boxes. These labels can be customized with icons or symbols, like a broken glass or an exclamation mark, further reinforcing the message for movers and family alike.
To keep things organized, create a simple labeling system combining words and colors in a neat table like this:
| Label Type | Description | Recommended Color | Icon |
|---|---|---|---|
| Fragile | Glassware, ceramics, electronics | Red | 🛠️ |
| Important Documents | Passports, contracts, certificates | Blue | 📄 |
| Heavy Items | Books, tools, appliances | Yellow | ⚠️ |
| Keep Upright | Shelves, electronics | Green | ⬆️ |
This visual strategy not only aids in prioritizing unpacking but also reduces stress, ensuring your precious belongings are handled and placed exactly as intended. Don’t underestimate the power of a well-placed, highly visible label—they’re your boxes’ best advocates during the move.
Maintaining an Organized Labeling System for Stress-Free Unpacking
Creating a streamlined labeling system at the outset can transform the chaos of moving into a smooth and manageable experience. Start by designating clear categories for your boxes, such as Essentials, Kitchen, Bedroom, or Fragile Items. Use bold, color-coded markers or stickers to instantly differentiate each category at a glance. This visual cue saves precious time when deciding what to unpack first and where a box belongs in your new space. Don’t forget to list a few key contents on each label to avoid endless rifling through boxes searching for that one item.
Consistency is key—once you choose a method, stick with it through the whole process. Consider using a simple labeling format like:
- Room Name – Priority Level – Box Number
- Example: Kitchen – High – 03
- Keep a master inventory sheet for reference, pairing your labels with a digital checklist or app for added convenience.
By organizing your labeling system thoughtfully, unpacking becomes less stressful and more efficient, allowing you to settle into your new home without the headache of misplaced items.
Q&A
Q: Why is labeling boxes important for unpacking?
A: Labeling boxes clearly acts like a treasure map for your belongings. It saves time, reduces stress, and helps you prioritize what to unpack first, making your move or storage experience smooth and efficient.
Q: What are the essential elements to include on a box label?
A: A pro-level label should include the contents, the room it belongs to, and any special handling instructions (like “Fragile” or “This Side Up”). Adding a brief description helps you identify items without opening every box.
Q: Should I use color coding when labeling boxes?
A: Absolutely! Color coding with markers, stickers, or tape can instantly signal which room a box belongs to. For example, blue for the kitchen and green for the living room. It’s like giving each space its own signature color for easy sorting.
Q: How can I make my labels easy to read?
A: Use bold, legible handwriting or printed labels. Avoid cursive or tiny fonts. Writing on a large piece of masking tape or using a label maker helps maintain clarity even when boxes are stacked.
Q: Can I add more than just text to my labels?
A: Yes! Incorporating simple icons or doodles (like a plate for kitchen items or a book for the study) enhances quick recognition, especially when labels are glanced at quickly in a busy moving day.
Q: Where should I place the labels on the boxes?
A: Place labels on at least two adjacent sides of each box so they’re visible whether boxes are stacked or turned. Avoid putting labels on the bottom, as they can get hidden or damaged.
Q: How detailed should I be when labeling boxes?
A: Strike a balance—include enough detail to know what’s inside and where it belongs, but don’t overdo it. For instance, “Bathroom: Towels & Toiletries” is better than “Bathroom: Stuff.”
Q: What materials are best for labeling boxes?
A: Use permanent markers for writing and durable tape or adhesive labels to ensure your labels hold up during transit and won’t smudge or peel off easily.
Q: Can digital tools help with labeling boxes?
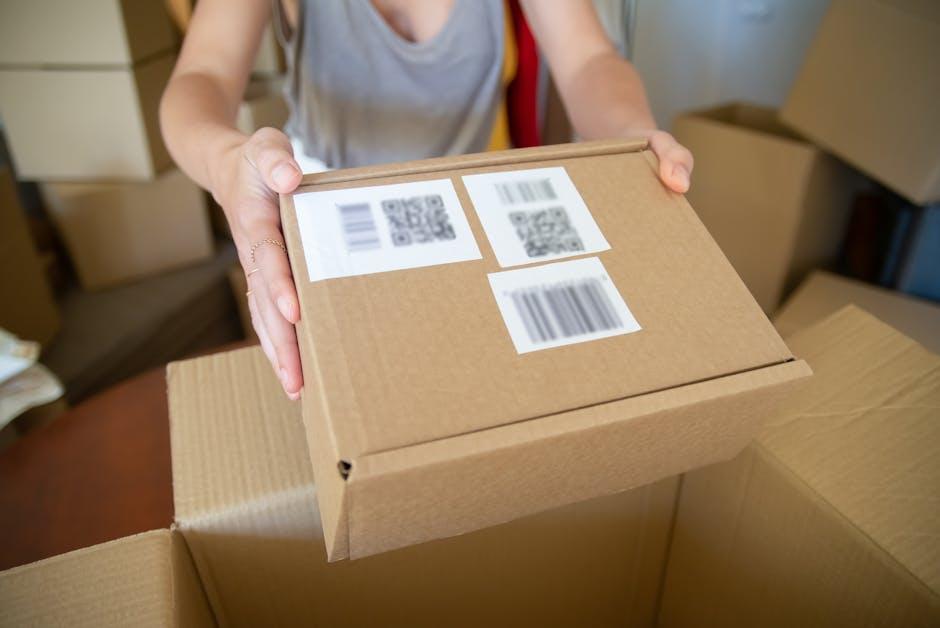
A: Definitely! Some people create inventory lists or use apps to photograph boxes and record their contents. This digital backup complements physical labels and helps keep track of everything.
Q: How can proper labeling improve the unpacking process?
A: With well-labeled boxes, you can prioritize essentials, avoid hunting for items, and systematically tackle room by room. It turns unpacking from a chaotic chore into an organized, manageable project.
The Way Forward
Mastering the art of labeling boxes isn’t just about neat handwriting or colorful markers—it’s about setting yourself up for a smooth, stress-free unpacking experience. By adopting clear, consistent labels and a thoughtful system, you transform chaos into order, making each box a helpful guide rather than a mystery waiting to slow you down. So, whether you’re moving across town or simply organizing your storage, remember: a well-labeled box is more than just a container—it’s your first step toward a fresh, easy start in any new space. Happy unpacking!